Here's a quick and easy halo text effect you can create with Photoshop. I used Photoshop version 5.5 for this example.

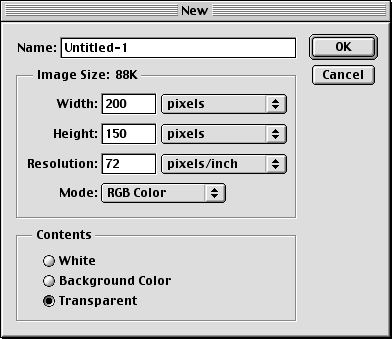
1. Click File > New to make a new file. In the dialog, enter the number of pixels for the width and height. This example will be for screen displays so I chose a resolution of 72 ppi. Click "OK" when done.
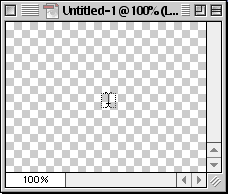
2. Select the Type tool ![]() and click once in the document window.
and click once in the document window.
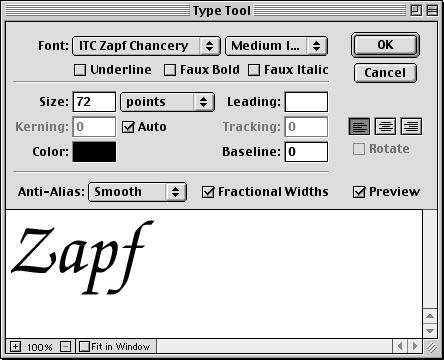
3. Enter the desired text in the dialog box. For this tutorial I chose 72 point Zapf Chancery Medium Italic. Click "OK" when done.
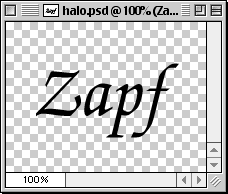
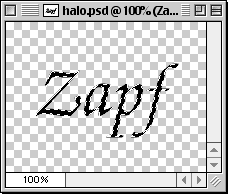
4. Depending on the font and text chosen, the document window should look something like the example below.
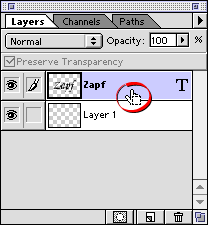
5. In the Layers palette, Cmd-Click (Mac®) or Ctrl-Click (Windows®) on the text layer to make a selection in the shape of the text. The mouse pointer will change to a pointing hand with a square selection marquee (circled below left). After doing this, the document window will show a selection marquee in the shape of the text (below right).
 |  |
No comments:
Post a Comment