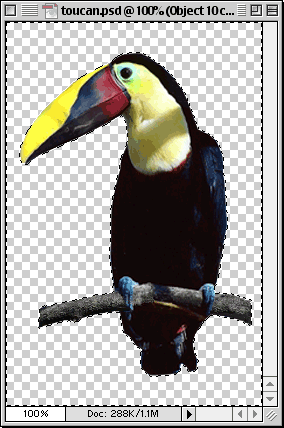
| 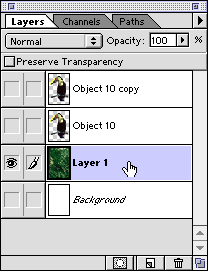 |
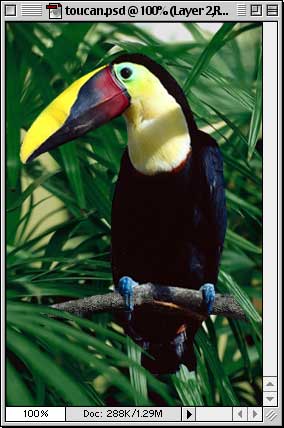
17. Drag the new layer to the top in the Layers palette so it appears in the foreground (below right). The finished image appears below left.
 |  |
| |
17. Drag the new layer to the top in the Layers palette so it appears in the foreground (below right). The finished image appears below left.
| |
 |  |
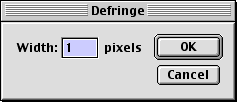
14. Accept the default width of 1 pixel in the subsequent dialog.
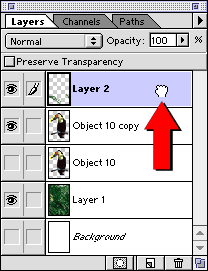
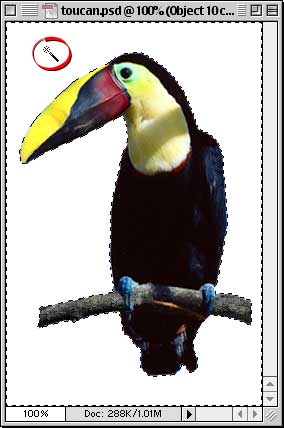
15. Now we have a smooth edge and the toucan blends perfectly over the new background. The only thing to handle now is that the branch appears to be floating in midair. There are a couple of ways to handle this. We could use the Rubber Stamp Tool and clone the ends of branch and extend them to the edges of the image. But in this case we'll make some of the leaves in the foreground appear to lay in front of the branch. It will be a slightly better effect because it will add the illusion of depth to the image.

12. Press Edit > Clear (or press the Delete key or Backspace key) to delete all the background pixels.