8. The strategy is to make an anti-aliased selection of the toucan. This will give us the partially transparent pixels needed for the fringe. Since the transparency of this image was created over a white background we want to re-create the white background on this layer, then make a new selection using the Magic Wand. Start by setting the foreground color to white in the Toolbox, then select the Paint Bucket Tool (below left). Click the Paint Bucket Tool anywhere in the transparent area to flood-fill the background with white (below right).
 |  |
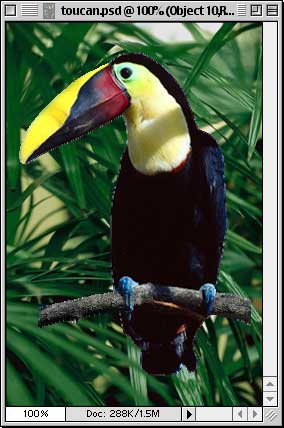
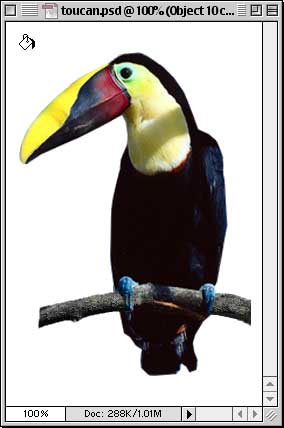
9. After flood-filling the background the image should look similar to the one below.
10. Next, select the Magic Wand Tool ![]() . Then in the Options palette set the tolerance to 32 and check the "Anti-aliased" check box. This will give the selection an anti-aliased edge and will ensure that some of the pixels around the edge of the toucan image will be included in the selection. Anti-aliasing will cause the pixels around the edge to be partially transparent.
. Then in the Options palette set the tolerance to 32 and check the "Anti-aliased" check box. This will give the selection an anti-aliased edge and will ensure that some of the pixels around the edge of the toucan image will be included in the selection. Anti-aliasing will cause the pixels around the edge to be partially transparent.