Making Seamless Tiles or Pattern Fills
The previous tutorial covered how to make uniform background tiles and fills. This tutorial shows how to make them mate together seamlessly. When you first create an image it doesn't necessarily mate seamlessly together when it is used as a background tile on a web page or as a pattern fill in Photoshop®. You have to edit the edges in a way that they blend together seamlessly when the image is used as a tile.
1. The way to do this is to divide the image into 4 equal sections, rearrange them, edit the edges then reassemble them into their original positions. Figure 1 below represents how an image is to be divided into 4 equal sections. Figure 2 shows how to rearrange them for editing:
Figure 1 | Figure 2 |
Adobe has provided the Offset filter in Photoshop which handles all the steps of dividing the image into sections, rearranging them, then reassembling them into their original positions.
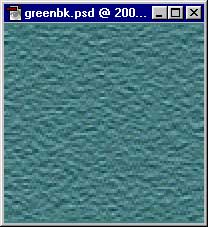
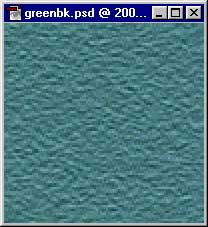
2. The first most obvious requirement, then, would be to make the image with an even number of pixels in both width and height. This way you can divide the image into 4 equal sections. For this tutorial we will start by making a new RGB image 100 x 100 pixels at 72 pixels per inch. Save the new image as "GREENBK.PSD" Set the foreground color to R=73 G=125 B=128. Using the bucket tool
| Note: The images in this tutorial will be displayed twice their normal size for clarity. |
3. Next apply the texturizer filter by clicking:
Filter > Texture > Texturizer > Sandstone
Then select:
Scaling=100%
Relief=4
Light Direction=Top
Then Click "OK".
4. This gives you a raw fill. It may or may not tile seamlessly.
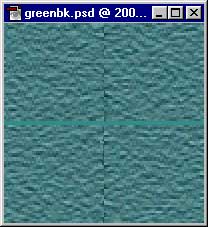
5. Next apply the Offset filter by clicking:
Filter > Other > Offset...
Then select:
Horizontal=50
Vertical=50
Wrap Around
Then click "OK"
6. You can now see how the edges will mate when the image is used as a tile. The seams will show up in the horizontal and vertical centers of the image:
7. Select the Rubber Stamp Tool
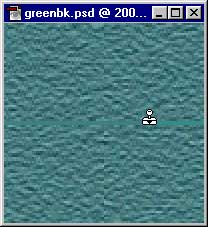
8. Now reapply the Offset filter by clicking Ctrl-F, or with the menu commands:
Filter > Other > Offset...
This will reverse the first application of the filter and reassemble the image into its original order:
9. Now it would be wise to test the tile using the same technique as the previous tutorial. With GREENBK.PSD still active, click Ctrl-A to "Select All", then:
Edit > Define Pattern
Next make a new RGB image 800 x 800 pixels at 72 pixels per inch. Then click:
Edit > Fill
Select:
Contents:
Use=Pattern
Blending:
Opacity=100%,
Mode=Normal.
Then click "OK" to apply the pattern fill to the image. You will be able to see if the image tiles seamlessly or not. When you are finished with the test you can discard the new 800 x 800 image.
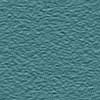
10. The finished background texture is shown below at normal size:
No comments:
Post a Comment