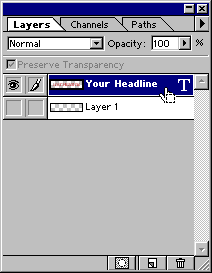
2. In the Layers palette Ctrl-Click (Windows®) or Cmd-Click (Mac®) the mouse on the type layer. This will select all the pixels on the layer in the shape of the type. Notice the shape of the cursor

3. This is what the layer looks like when selected.

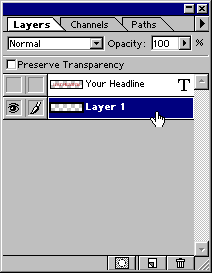
4. Click the eye icon to hide the type layer, then click the empty layer underneath to make it the active editing layer.

5. This is what the image looks like on the empty layer with the selection.

6. Click Select > Feather. In the dialog, enter 3 to feather the selection 3 pixels.

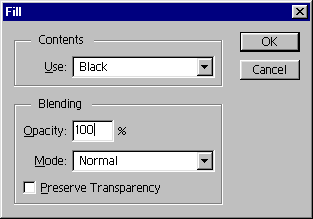
7. Click Edit > Fill. Then choose Black with an Opacity of 100%, Normal mode.

8. This is the effect of the fill command. This shadow image lies directly under the type so we need to offset it down and to the right. Before doing so, click Select > Deselect.

There are other variations to the shadow effect. You can use Select > Expand to expand the selection, then Edit > Fill with solid black, then use Filter > Blur > Gaussian Blur.
No comments:
Post a Comment