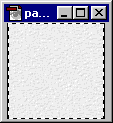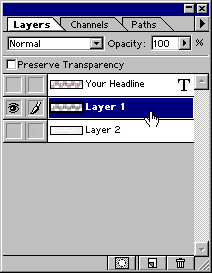
10. Open the background image. In this case, it is the background image of this web site (paper.gif). Press Ctrl-A (Windows®) or Cmd-A (Mac®) or click Select > All. Next click Edit > Define Pattern.

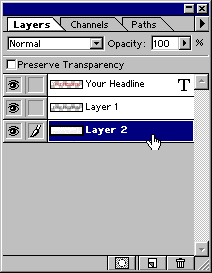
11. Add a new layer underneath the existing two layers and make this new layer the active layer. Then click Edit > Fill and choose Use "Pattern" with an Opacity of 100%, Normal mode. Save the file.
At this point you can export it as a JPEG image. The remaining steps are to setup the image for export as a GIF.

12. In the Layers palette Alt-Click (Windows) or Option-Click (Mac) the eye icon next to the shadow layer. This will make only the shadow layer visible. Then click the mouse on the layer to make it the active editing layer.

13. Using the Magic Wand Tool, with a tolerance setting of 0 and no anti-aliasing, click anywhere in the transparent area where there are no pixels. This will select everything on the layer that doesn't have any pixels.

14. In the Layers palette click the other two eye icons to make all the layers visible, then click the bottom layer to make it the active layer.

15. Make sure the selection surrounds all the visible pixels of the type layer and its shadow (click here for why this is done).

16. Press the Delete key to clear the excess background pixels.

17. Click Select > Deselect. This is what the image looks like with the excess background pixels trimmed away.
At this point you can export it as a GIF image.

No comments:
Post a Comment